
Bathroom Tiling Materials List: Complete Shopping List for a Kenyan Bathroom
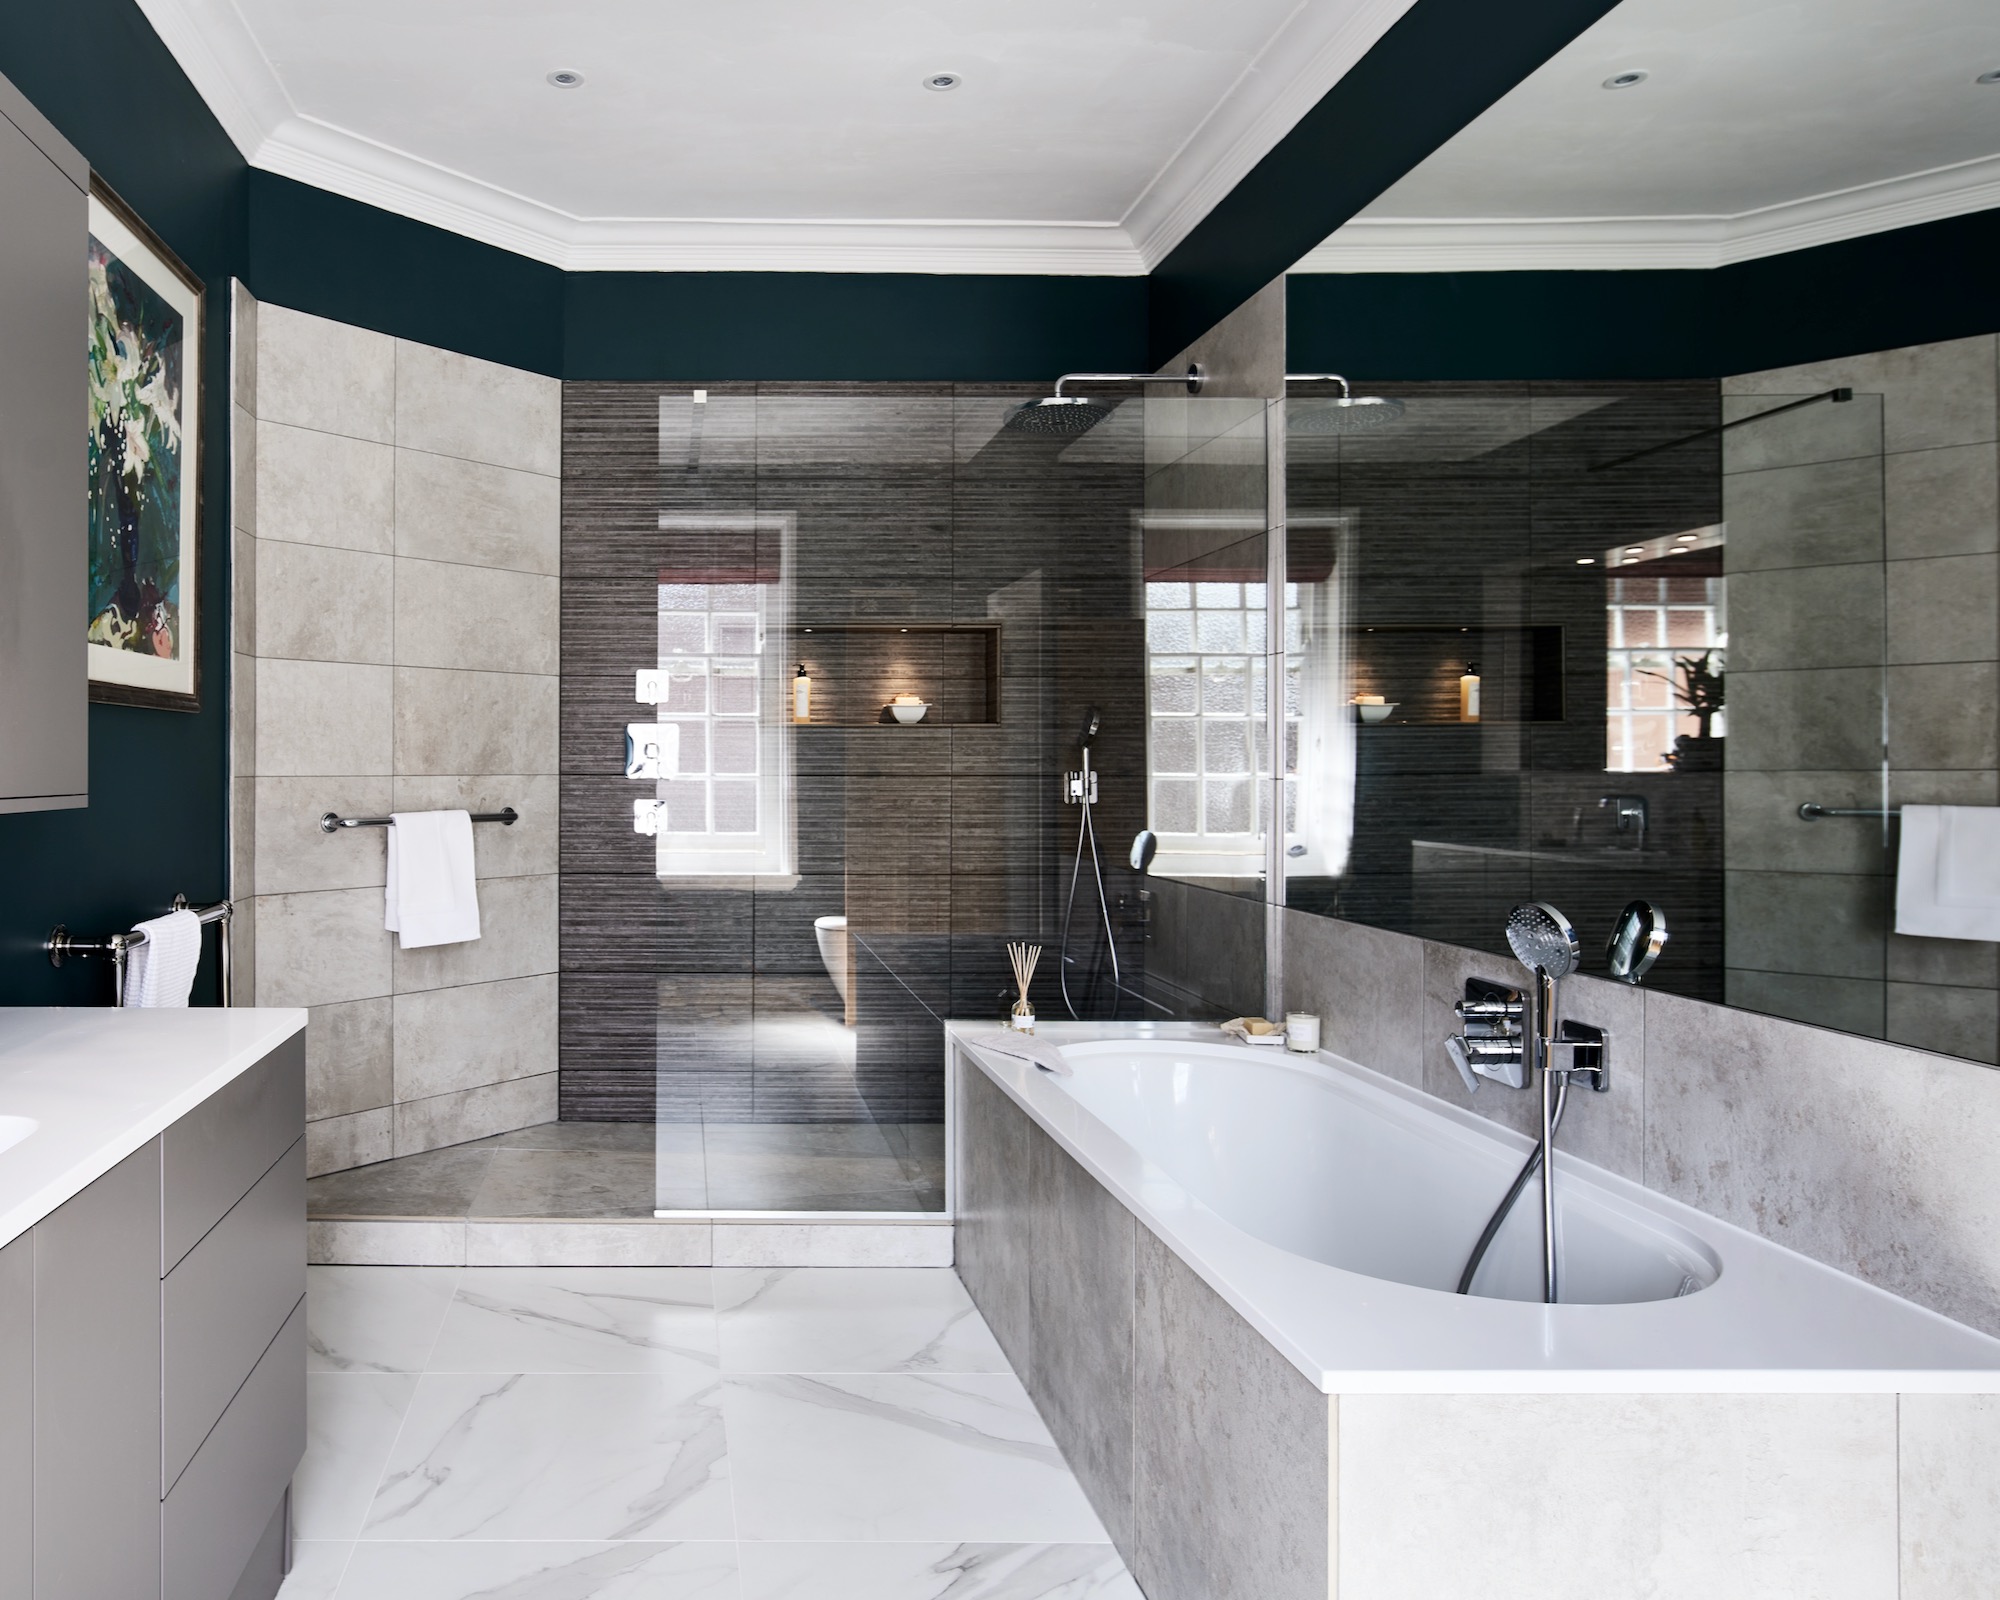
A complete bathroom tiling materials list should include much more than the tiles themselves. When tiling a bathroom from bare walls, the project may require floor tiles, wall tiles, tile adhesive, grout, spacers, trims, waterproofing materials, surface preparation products, sealants and the tools needed to cut and install the tiles correctly.
Starting from bare walls is also an opportunity to prepare the room properly before covering the surfaces. Plumbing positions, wall flatness, waterproofing, floor falls and tile layout should be considered before the first tile is fixed.
For a typical Kenyan bathroom, the bathroom tiling materials list should therefore be prepared from actual room measurements rather than by purchasing a standard number of boxes.
This guide explains how to calculate the quantities, what each material does, how to avoid common shortages and how to build a practical tiling shopping list before work begins.
Bathroom Tiling Materials List: What Do You Need?
A complete bathroom tiling materials list includes tiles, adhesive, grout, spacers, trims, waterproofing and surface-preparation products, plus the tools required for installation. The exact quantities depend on bathroom dimensions, tile size, layout and wall coverage.
A typical shopping list can include:
- Floor tiles.
- Wall tiles.
- Tile adhesive.
- Grout.
- Tile spacers.
- Tile trims.
- Waterproofing membrane or system where specified.
- Waterproofing accessories.
- Surface levelling materials.
- Screed or repair materials.
- Silicone sealant.
- Primer where required.
- Tile-cutting equipment.
- Notched trowel.
- Rubber grout float.
- Spirit level.
- Measuring tape.
- Buckets.
- Sponges.
- Cleaning materials.
The tiles themselves are only one part of the installation.
Bathroom Tiling Materials List: Start With Measurements
The first step in preparing a bathroom tiling materials list is measuring every surface that will receive tiles. Calculate the floor, each wall and any special areas separately before adding the quantities together.
For a rectangular bathroom floor:
Floor area = length × width
For example:
2 m × 2.5 m = 5 m²
The floor therefore requires approximately 5 m² of tile coverage before allowing for cuts and wastage.
For walls:
Wall area = wall length × wall height
Measure all four walls individually.
Then subtract significant openings such as:
- Doors.
- Windows.
- Large permanent openings.
Do not rely solely on the floor area when estimating wall tiles.
A small bathroom can require a surprisingly large quantity of wall tiles if the walls are tiled from floor to ceiling.
Bathroom Tiling Materials List: Worked Bathroom Example
A worked example makes the shopping list easier to understand. Consider a 2 m × 2.5 m bathroom with 2.4 m high walls and full-height wall tiling.
Floor
Length:
2 m
Width:
2.5 m
Floor area:
2 × 2.5 = 5 m²
Walls
Bathroom perimeter:
2 + 2.5 + 2 + 2.5 = 9 m
Wall height:
2.4 m
Total wall area:
9 × 2.4 = 21.6 m²
Assume the door opening is approximately 2 m².
Net wall area:
21.6 − 2 = 19.6 m²
Total tiled area
Floor:
5 m²
Walls:
19.6 m²
Total:
24.6 m²
Now add a waste allowance.
At 10%:
24.6 × 1.10 = 27.06 m²
A practical starting point would therefore be approximately:
27–28 m² of tiles
This is an example only. Actual quantities should be based on the final room dimensions and tile layout.
Bathroom Tiling Materials List: How Much Tile Should You Buy?
Tile quantities should include an allowance for cutting, breakage and layout waste. A common preliminary allowance is around 5–15%, although the appropriate figure depends on the room and tile pattern.
A simple rectangular bathroom with a straightforward layout may have relatively low waste.
More complicated installations can require more.
Waste can increase because of:
- Corners.
- Niches.
- Pipe penetrations.
- Diagonal layouts.
- Pattern matching.
- Small cut pieces.
- Irregular walls.
For example, if the calculated tile area is:
25 m²
With 10% allowance:
25 × 1.10 = 27.5 m²
You would plan for approximately:
28 m²
When ordering, round according to the supplier’s box coverage.
Bathroom Tiling Materials List: Floor Tiles
Floor tiles should be selected for the bathroom environment, particularly where water and bare feet create slip risks. The product should be appropriate for floor use and installed on a properly prepared surface.
When selecting bathroom floor tiles, consider:
- Slip resistance.
- Water exposure.
- Tile strength.
- Surface texture.
- Cleaning requirements.
- Size.
- Appearance.
Avoid selecting a floor tile based only on colour.
A highly polished surface may not be the most appropriate choice for a frequently wet bathroom floor.
Bathroom Tiling Materials List: Wall Tiles
Wall tiles provide a practical and decorative surface that is easier to clean than many unfinished wall materials. Their quantity depends primarily on the wall area and the height to which the bathroom will be tiled.
Wall tiles can be installed:
- Around the entire bathroom.
- Around the shower area only.
- To a partial height.
- Full height.
- As a feature wall.
Full-height tiling generally requires substantially more material.
If the budget is limited, homeowners can use a more economical wall tile and reserve decorative tiles for selected areas.
Bathroom Tiling Materials List: Ceramic or Porcelain?
Ceramic and porcelain tiles can both be suitable for bathroom applications, but the appropriate choice depends on the specific product and intended location. Floor and wall suitability should be confirmed before purchase.
Ceramic tiles
Often available in many:
- Colours.
- Patterns.
- Sizes.
- Finishes.
They can be a practical option for many bathroom walls and selected floor applications.
Porcelain tiles
Generally denser and commonly selected for:
- Bathroom floors.
- High-traffic areas.
- Modern large-format installations.
The correct choice depends on the manufacturer’s specifications.
Bathroom Tiling Materials List: Tile Size
Tile dimensions affect the number of pieces required, cutting requirements, grout consumption and the visual appearance of the bathroom.
For example, a:
300 × 300 mm tile
covers:
0.3 × 0.3 = 0.09 m²
Therefore:
1 ÷ 0.09 = 11.11 tiles per m²
before accounting for cuts and waste.
A:
600 × 600 mm tile
covers:
0.6 × 0.6 = 0.36 m²
Therefore:
1 ÷ 0.36 = 2.78 tiles per m²
Always purchase according to the square-metre coverage stated on the packaging rather than relying only on the number of individual pieces.
Bathroom Tiling Materials List: Tile Adhesive
Tile adhesive bonds the tiles to the prepared substrate and should be selected according to the tile type, substrate and bathroom application. The required quantity depends on the manufacturer’s coverage and installation method.
Adhesive consumption is influenced by:
- Tile size.
- Trowel size.
- Substrate flatness.
- Tile backs.
- Application technique.
- Adhesive type.
A smooth, properly prepared surface can allow more predictable adhesive consumption.
An uneven wall can require significantly more material.
When preparing your bathroom tiling materials list, always check the adhesive manufacturer’s stated coverage rather than estimating the number of bags from floor area alone.
You can explore our range of tile and construction adhesives when preparing your shopping list.
Bathroom Tiling Materials List: How Many Bags of Adhesive?
The number of adhesive bags required depends on the product’s coverage per bag and the total tiled area. Calculate the quantity using the manufacturer’s coverage rather than applying one universal consumption rate.
For example, suppose an adhesive product covers approximately:
4 m² per bag
And the total tiled area is:
27 m²
Then:
27 ÷ 4 = 6.75 bags
You would need to purchase enough complete bags to cover the area, meaning approximately:
7 bags
The actual coverage may differ significantly between products and installation conditions.
Always read the product packaging.
Bathroom Tiling Materials List: Grout
Grout fills the joints between tiles and provides the finished appearance of the tiled surface. Grout consumption depends on tile dimensions, thickness, joint width and total tiled area.
Grout requirements increase with:
- Smaller tiles.
- Wider joints.
- Thicker tiles.
- Larger tiled areas.
For example, mosaic tiles can consume substantially more grout than large-format tiles because they have many more joints.
The selected grout should be appropriate for the bathroom environment.
Bathroom Tiling Materials List: Choosing Grout Colour
Grout colour affects both appearance and maintenance. Light grout can create a clean appearance but may show dirt more readily, while darker grout can be more forgiving in high-use areas.
Common choices include:
- White.
- Grey.
- Dark grey.
- Beige.
- Contrasting colours.
The choice should complement the tile.
For example:
A light grey grout can create a softer transition between grey and white tiles.
A contrasting grout can make the individual tile shapes more visible.
Bathroom Tiling Materials List: Tile Spacers
Tile spacers help create consistent joints between tiles and make it easier to maintain an even installation pattern. The appropriate spacer size depends on the tile and desired joint width.
Common spacer sizes include:
- 2 mm.
- 3 mm.
- 4 mm.
- 5 mm.
The correct size should consider:
- Tile dimensions.
- Tile type.
- Edge finish.
- Manufacturer recommendations.
- Desired appearance.
Spacers are inexpensive, but running out during installation can cause delays.
Include them in every bathroom tiling materials list.
Bathroom Tiling Materials List: Tile Trims
Tile trims provide a clean finish at exposed tile edges and protect vulnerable tile corners. They are particularly useful around external corners, exposed wall ends and transitions.
Trims can be made from:
- PVC.
- Aluminium.
- Stainless steel.
Measure trims in linear metres.
For example, if an exposed tile edge measures:
2.4 m
and another edge measures:
1.2 m
total trim requirement is:
3.6 m
Allow for the available standard trim lengths and cutting.
Bathroom Tiling Materials List: Waterproofing
A bathroom should be treated as a wet-area system rather than assuming that tiles and grout alone provide complete waterproofing. Appropriate waterproofing should be considered for shower areas, floors, junctions and penetrations.
Waterproofing materials may include:
- Waterproofing membrane.
- Waterproofing liquid system.
- Reinforcing tape.
- Corner treatment.
- Pipe penetration seals.
- Compatible primer.
The exact system depends on the product and construction method.
Pay particular attention to:
- Shower corners.
- Floor-to-wall junctions.
- Pipe outlets.
- Drain areas.
- Wall penetrations.
Bathroom Tiling Materials List: Waterproofing Around the Shower
The shower area deserves particular attention because it receives repeated direct water exposure. Waterproofing should be installed according to the manufacturer’s system before tiles are applied.
A typical system may involve:
- Prepare the substrate.
- Repair cracks and defects.
- Apply compatible primer where required.
- Treat corners and joints.
- Apply waterproofing.
- Treat pipe penetrations.
- Allow the system to cure.
- Install tile adhesive.
- Fix tiles.
Do not rush the curing stage.
Covering waterproofing before it has reached the required condition can compromise the system.
Bathroom Tiling Materials List: Silicone Sealant
Flexible sanitary-grade sealant is useful at movement joints and transitions where rigid grout may crack. It should be used according to the manufacturer’s recommendations.
Common locations include:
- Wall-to-floor junctions.
- Internal corners.
- Around sanitary fixtures.
- Around bath edges.
- Around shower frames.
The exact locations depend on the bathroom design and construction system.
Sealant should be compatible with the surrounding materials.
Bathroom Tiling Materials List: Surface Preparation Materials
Bare walls often require preparation before tiling. The substrate should be clean, sound, sufficiently flat and suitable for the selected tile adhesive.
Preparation materials may include:
- Repair mortar.
- Screed.
- Levelling compound.
- Primer.
- Cement-based repair material.
- Waterproofing products.
The exact products depend on the condition of the walls and floor.
Do not attempt to correct major unevenness simply by applying excessive tile adhesive.
Bathroom Tiling Materials List: Floor Screed
A bathroom floor may require a properly formed screed or other suitable substrate to create a stable, level surface with the correct drainage falls.
A bathroom floor should generally be designed so water moves towards the intended drain rather than collecting in low spots.
Before tiling, confirm:
- Floor levels.
- Drain position.
- Falls.
- Surface strength.
- Surface cleanliness.
The final tile installation should follow the prepared floor rather than being used to create major structural corrections.
Bathroom Tiling Materials List: Tile Cutting Tools
Accurate tile cutting is essential for corners, doorways, pipe penetrations and fixture locations. The appropriate cutting tool depends on tile type, thickness and the required finish.
Common tools include:
- Manual tile cutter.
- Tile nippers.
- Diamond cutting blade.
- Angle grinder.
- Diamond hole saws.
- Tile drilling accessories.
For porcelain or large-format tiles, appropriate diamond tooling can make a significant difference.
Bathroom Tiling Materials List: Tile Cutter
A manual tile cutter can be useful for straight cuts, particularly on suitable ceramic and porcelain tiles. The cutter should be appropriate for the tile dimensions and material.
Before purchasing or hiring a cutter, check:
- Maximum tile length.
- Maximum thickness.
- Cutting capacity.
- Tile type compatibility.
For irregular cuts, additional tools may be necessary.
Bathroom Tiling Materials List: Drill Bits and Hole Saws
Bathrooms contain numerous pipes and fittings, making accurate holes essential. Appropriate diamond or tile-cutting accessories can help create clean penetrations without unnecessarily damaging the tile.
Holes may be required for:
- Shower pipes.
- Basin plumbing.
- Toilet connections.
- Mixer outlets.
- Accessories.
Mark the centre carefully before drilling.
You can browse suitable drill bits and drilling accessories as part of your preparation.
Bathroom Tiling Materials List: Measuring and Layout Tools
Accurate setting out helps prevent narrow, unattractive cuts and keeps tile joints aligned throughout the room. Measurement and layout tools should therefore be included in the installation plan.
Useful tools include:
- Tape measure.
- Spirit level.
- Laser level.
- Straight edge.
- Pencil or marker.
- Chalk line.
- Square.
- Tile spacers.
Before applying adhesive, establish:
- Starting point.
- Tile centreline.
- Joint alignment.
- Door cuts.
- Fixture positions.
- Feature areas.
Bathroom Tiling Materials List: Grouting Tools
Proper grouting requires simple but important tools that help force grout into the joints and remove excess material without damaging the tile surface.
Useful items include:
- Rubber grout float.
- Mixing bucket.
- Mixing paddle.
- Sponge.
- Clean water.
- Cleaning cloths.
Do not allow grout residue to remain on the tile surface until it becomes difficult to remove.
Bathroom Tiling Materials List: Adhesive Mixing Tools
Many cement-based tile adhesives require controlled mixing with clean water to achieve the manufacturer’s specified consistency.
You may require:
- Clean bucket.
- Measuring container.
- Mixing paddle.
- Electric drill with appropriate mixing attachment.
Follow the manufacturer’s:
- Water ratio.
- Mixing time.
- Resting time.
- Pot life.
- Application instructions.
Adding excessive water can affect adhesive performance.
Bathroom Tiling Materials List: Notched Trowel
A notched trowel helps distribute tile adhesive at a consistent thickness and improves coverage when used correctly. The appropriate notch size depends on the tile and adhesive system.
Different tiles may require different trowel sizes.
Large-format tiles may require additional attention to adhesive coverage.
The goal is to achieve adequate contact between the tile and substrate without creating unnecessary voids.
Bathroom Tiling Materials List: Cleaning Materials
Cleaning should happen throughout installation rather than being left entirely until the end. Removing adhesive and grout residue while it is still workable makes final cleaning easier.
Include:
- Clean sponges.
- Buckets.
- Microfibre cloths.
- Clean water.
- Non-abrasive cleaning products where appropriate.
Avoid aggressive cleaning products that could damage tile finishes or grout.
Bathroom Tiling Materials List: Full Example Shopping List
For the sample 2 m × 2.5 m bathroom with full-height wall tiles, the following provides a practical starting checklist. Actual quantities should be adjusted after the final measurements and tile selection.
| Material | Approximate Planning Basis |
|---|---|
| Floor tiles | 5 m² + wastage |
| Wall tiles | 19.6 m² + wastage |
| Total tiles | Approximately 27–28 m² |
| Tile adhesive | Based on manufacturer coverage |
| Grout | Based on tile size and joint width |
| Tile spacers | Based on layout |
| Tile trims | Measured by exposed edge |
| Waterproofing | Measured wet-area surface |
| Sealant | Based on joints and fixtures |
| Primer | Based on substrate/product requirements |
| Surface repair material | Based on wall/floor condition |
| Tile cutter | 1 suitable unit |
| Notched trowel | 1 suitable size |
| Grout float | 1 |
| Spirit level | 1 |
| Measuring tape | 1 |
| Sponge | Several |
| Mixing bucket | 1 or more |
| Drill/diamond accessories | As required |
This provides a useful tiling shopping list Kenya homeowners can take to a supplier or contractor.
Bathroom Tiling Materials List: What Should You Buy First?
Buy structural preparation materials and confirm the tile selection before purchasing installation quantities. This prevents buying adhesive, grout or trims that are incompatible with the final tile specification.
A sensible sequence is:
First
Confirm:
- Bathroom dimensions.
- Drain locations.
- Plumbing positions.
- Wall condition.
- Floor condition.
- Waterproofing requirements.
Second
Select:
- Floor tiles.
- Wall tiles.
- Tile layout.
- Grout colour.
- Trim finish.
Third
Calculate:
- Tile quantities.
- Adhesive.
- Grout.
- Spacers.
- Trims.
- Waterproofing.
Finally
Purchase:
- Tools.
- Cleaning products.
- Installation accessories.
Bathroom Tiling Materials List: Buying Tiles by Box
Tiles are commonly sold by box, so the calculated square-metre requirement must be converted into complete boxes. Always check the coverage printed on the packaging.
For example:
Required:
27 m²
Suppose one box covers:
1.44 m²
Then:
27 ÷ 1.44 = 18.75 boxes
You cannot purchase 18.75 boxes.
Therefore, you would need:
19 boxes
However, the final quantity should also consider the selected layout and whether spare tiles are required.
Bathroom Tiling Materials List: Keep Spare Tiles
Keeping a small quantity of spare tiles is useful because individual tiles can be damaged years after installation, while matching an old colour or design later may be difficult.
Store spare tiles:
- In a dry location.
- Away from direct damage.
- With the original product information.
- With the batch or shade details.
This is particularly useful for decorative tiles that may be discontinued.
Bathroom Tiling Materials List: Common Shopping Mistakes
The most common tiling-shopping mistakes involve underestimating tile quantities, forgetting installation materials or purchasing products that are unsuitable for the selected tile and application.
Avoid:
Buying only the tiles
You also need adhesive and grout.
Forgetting waste
Cutting is unavoidable.
Ignoring waterproofing
Wet areas need appropriate protection.
Buying adhesive too early
The required adhesive depends partly on the tile and substrate.
Forgetting trims
Exposed edges need finishing.
Buying the wrong grout
Joint size and application matter.
Ignoring substrate preparation
Tiles cannot compensate for a structurally poor surface.
Not checking box coverage
Different products cover different areas.
Bathroom Tiling Materials List: Budget Control
The easiest way to control a bathroom tiling budget is to calculate quantities before visiting the supplier and separate essential installation materials from decorative upgrades.
Prioritise:
- Sound substrate.
- Appropriate waterproofing.
- Suitable tiles.
- Quality adhesive.
- Correct grout.
- Proper installation.
- Appropriate trims and sealants.
Decorative upgrades can then be added according to the remaining budget.
For example, instead of using expensive feature tiles across every wall, use them on:
- One shower wall.
- A basin feature wall.
- A niche.
- A decorative strip.
This can create a premium appearance while controlling the total bathroom tiling materials list cost.
Bathroom Tiling Materials List: Maintenance Materials
The shopping list should also consider the products needed to keep the finished bathroom clean and functional after installation.
Depending on the materials used, maintenance may include:
- Suitable tile cleaner.
- Grout-cleaning products.
- Silicone sealant for future maintenance.
- Replacement grout.
- Spare tiles.
You can also browse cleaning items for ongoing household and project maintenance.
Bathroom Tiling Materials List: When to Call a Professional
Professional assistance is recommended where the bathroom involves complex waterproofing, major substrate problems, large-format tiles, difficult layouts or significant plumbing changes.
Consider professional installation when:
- Walls are substantially uneven.
- The floor requires major levelling.
- Waterproofing is extensive.
- Large-format tiles are being installed.
- The design contains complicated patterns.
- Numerous pipe penetrations are involved.
- The bathroom is being completely renovated.
DIY tiling can be successful on straightforward projects, but waterproofing and substrate preparation deserve particular care.
Bathroom Tiling Materials List: Final Pre-Installation Checklist
Before the first tile is fixed, confirm the room dimensions, tile quantities, substrate condition, waterproofing, adhesive, grout, trims and layout. This final check can prevent costly delays once installation has started.
Use this checklist:
- Bathroom measured.
- Floor area calculated.
- Wall areas calculated.
- Door/window areas accounted for.
- Tile layout selected.
- Floor tiles selected.
- Wall tiles selected.
- Waste allowance added.
- Box coverage confirmed.
- Adhesive selected.
- Adhesive quantity calculated.
- Grout selected.
- Grout quantity calculated.
- Spacers selected.
- Trims measured.
- Waterproofing selected.
- Sealant purchased.
- Surface preparation completed.
- Tile cutter available.
- Notched trowel available.
- Grout float available.
- Spirit level available.
- Cleaning materials available.
- Spare tiles planned.
Bathroom Tiling Materials List: Final Takeaway
A reliable bathroom tiling materials list should account for every stage from bare walls to the finished bathroom. The basic shopping list includes tiles, adhesive, grout, spacers, trims, waterproofing, sealant, preparation materials and installation tools.
For the example bathroom used in this guide, measuring the floor and full-height walls produced approximately 24.6 m² of net tiled area. After a 10% allowance, the preliminary tile requirement becomes approximately 27 m².
The same process should be applied to your actual bathroom.
Start with measurements.
Calculate each surface separately.
Add an appropriate wastage allowance.
Then calculate the supporting materials.
For adhesive, use the manufacturer’s stated coverage.
For grout, consider tile size and joint width.
For trims, measure exposed edges.
For waterproofing, calculate the actual wet-area coverage.
For sealant, measure the joints and fixture transitions.
This approach creates a practical tiling shopping list Kenya homeowners can use when planning a new bathroom or renovation.
Most importantly, do not treat waterproofing, substrate preparation and installation quality as optional extras. A beautiful tile can still fail if it is installed over an unsuitable surface or if moisture protection has not been properly addressed.
Once the installation is complete, keep several spare tiles and the original product information. This small step can make future repairs much easier.
For homeowners around Ngong, Karen, Matasia and Kiserian, planning the complete material list before shopping can also make it easier to coordinate tiles with plumbing, sanitary ware, adhesives and other construction requirements.
If you are preparing a bathroom tiling materials list, measure first, calculate carefully and purchase according to the actual installation system rather than guessing quantities.
Your One-Stop Hardware Partner in Ngong
Imagine completing your project with the right tools, the best materials, and expert advice. At Ngong Hills Merchants, we turn your DIY or construction vision into reality with a complete selection of plumbing, electrical, glass, and sanitary ware.
Contact our team for a consultation and get the right supplies, right now.
QUALITY HARDWARE & SUPPLIES IN NGONG ✔ Complete Range of Plumbing & Electrical ✔ Power Tools, Adhesives & Paints ✔ Glass, Framing & Sanitary Ware ✔ Serving Ngong, Karen, Matasia, Kiserian & beyond.
Request Your Free Consultation: Ngong Hills Merchants
Email: ngonghillsmerchants [at] gmail.com
Phone: +254 715974811
Visit Us: Ngong Township, Ngong, Kenya
Website: https://ngonghillsmerchants.com/